Содержание
Campaign Dropdown Functionality
The Campaign dropdown is one of seven options to choose from in the phpList title bar. Within the Campaign dropdown, Administrators can choose between sending a campaign, viewing a list of campaigns, or managing campaign templates. By default, if you click on Campaign at the highest level, you will be brought to the “List of Campaign page.”
Browse the Campaign dropdown within the phpList title bar, to access Campaign functionality. 
Send a Campaign
Select the Send a Campaign option to Start a New Campaign or to work from an existing draft campaign. All previous draft campaigns, along with their age, are displayed on the “Send a Campaign” page.
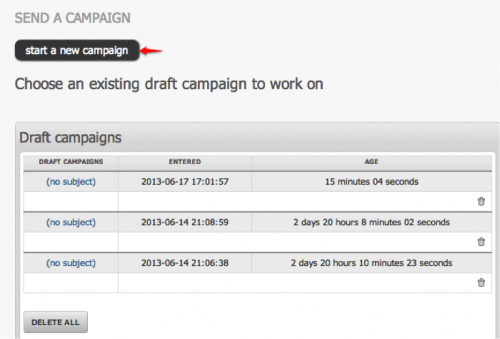
Select start a new campaign to begin a campaign. This action will bring you to Campaign content step in the Send a campaign process. For more information, refer to the Send a campaign process.
To continue working on a draft campaign, select the name of the campaign. In the case above, the name is (No subject.) Selecting the name of the campaign brings you to your last completed step in the Send a campaign process before you previously selected Save.
List of Campaigns
Select List of Campaigns in the Campaign Menu Dropdown to arrive at the “List of Campaigns” Page. Here, you can browse Sent, Active, and Draft Campaigns, and you can also start a new Campaign by selecting Start a new campaign.
The “List of Campaigns” page shows Sent Messages by default. Change this by selecting another option in the Sent Messages Dropdown, shown below.
The “List of Campaigns” page will display the details of previously sent messages. They include the name of the message, the date it was entered, its status, and other actions such as the ability to “Requeue” and “View.” Another action, which does not appear in the image below, but is available to you as an administrator, is statistics. Statistic details are accessible via the icon ![]() .
.
The “List of Campaigns” page includes other high level statistics such as:
- Time to send
- Type of email and number (HTML or TXT)
- Number of times viewed
- Unique views
- Bounces
To Requeue, select the ![]() icon. To View the campaign message, select the
icon. To View the campaign message, select the ![]() icon. Selecting requeue will render the message “Active.” However, before it can be formally sent, the Admin must Process the queue. Selecting View the queue, will display a list of messages in the “Active” stage.
icon. Selecting requeue will render the message “Active.” However, before it can be formally sent, the Admin must Process the queue. Selecting View the queue, will display a list of messages in the “Active” stage. 
When selecting ![]() in the campaign details, something similar to the following screenshot is displayed. This screenshot contains details reminding you what the campaign was about, how long it took to process, and to whom it was sent.
in the campaign details, something similar to the following screenshot is displayed. This screenshot contains details reminding you what the campaign was about, how long it took to process, and to whom it was sent. 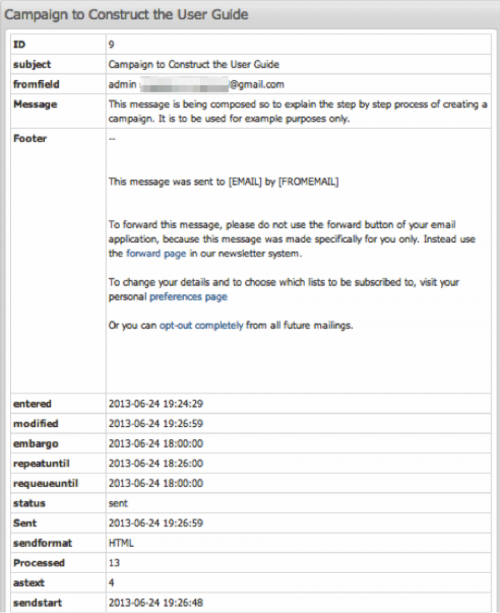
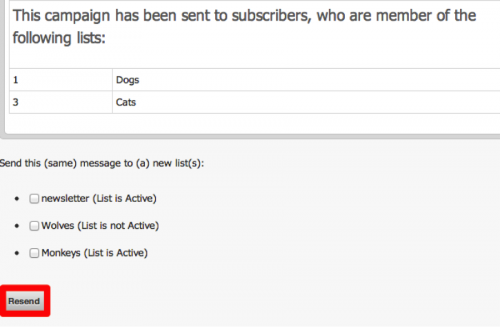
Additionally, from the “View a Campaign” page, you can access the following type of information displayed in the screenshots below. This then allows you to resend the same message to a new list, if desired.
Message Campaign Templates
Select the corresponding option in the Campaigns Menu Dropdown to manage campaign templates. This action will redirect you to the “Manage Campaign Templates” page. If no templates are available, you will have the option to Add a new template or Add a default system template. 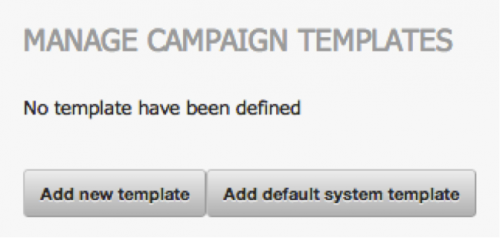
Templates
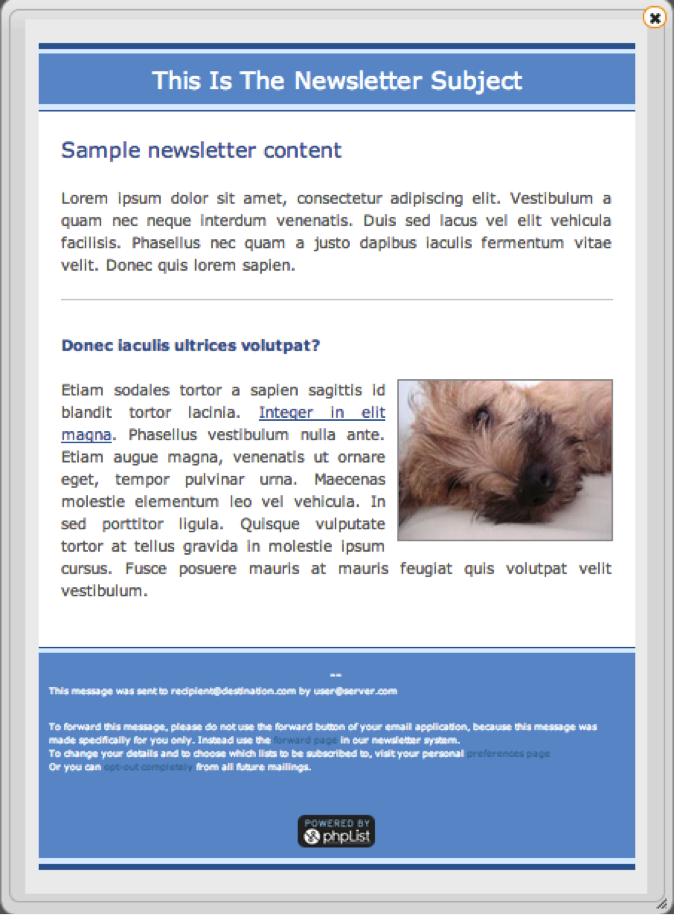
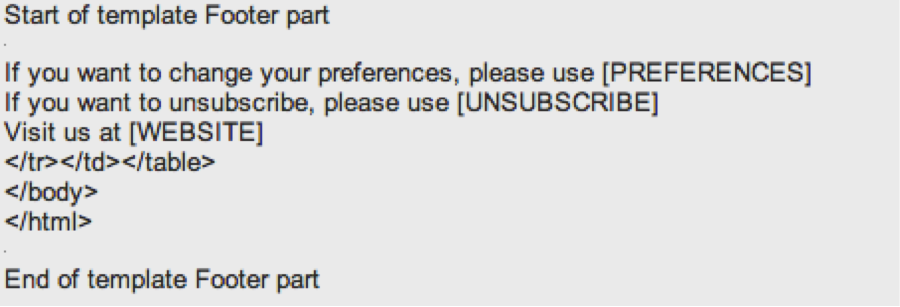
In phpList, a template is re-usable HTML code with all the standard layout and text elements of your message. For a newsletter template, this would typically consist of the title, heading, and logo at the top (header), and the preferences and unsubscribe links at the bottom (footer).
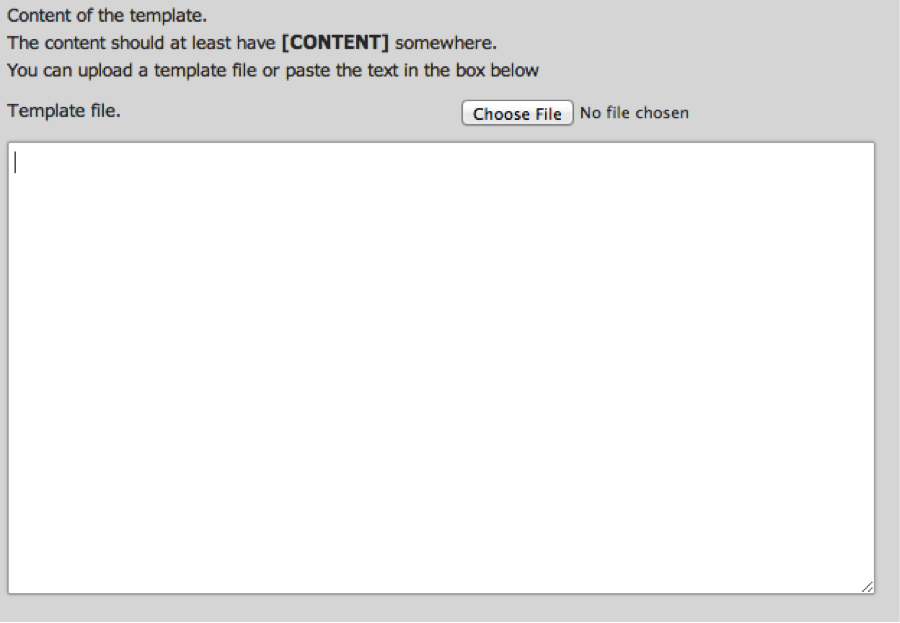
A template does not include the content of the message, as this would change for each edition of the message. It should, however, include the 'placeholder' [CONTENT], which is used to insert the contents of the message later on. Templates are often designed in an HTML editor, and saved as an HTML file.
Add default system template
Directions
- Select Add default system template to add the default system template. You will receive an onscreen message saying the default system template has been added. The message will also give you the template’s ID.
- Within the default system template, you can either select The default system template already exists to return to the original “Manage Campaign Templates” page, or select Edit, allowing you to customize the default system template.
- Select delete to delete the template. Click on the title of the template to edit the template. In this case, the title is System Template.
- Creating a Default System Template will automatically mark the radio button: ‘System’. You can also mark the radio button: ‘Campaign Default’, as shown in the example above.
Add a new template
Directions
- Begin by selecting Add new template. You will be directed to the “Add or Edit a Template” page.
- Open an HTML editor to begin, and separate the template content into three parts.
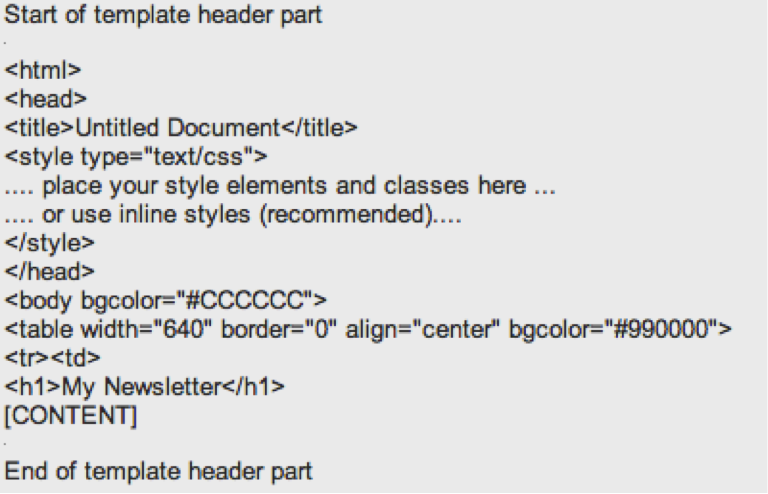
- The header, or Template Top Area, is the part of the HTML code starting from the title tag till where the middle part content should start. Select the top part -described above- and copy/paste it in the editing window of the 'create template' page of the phpList admin module, using the 'source button/icon' of the FCKeditor toolbar. Make sure to add the [CONTENT] placeholder at a convenient place at the end of the top part of your code.
- In addition to [CONTENT], you can add other placeholders, like [FOOTER] and [SIGNATURE], to insert the footer information and the signature of the message, but they are optional. You can further personalize your template (or message content) by adding custom placeholders based on the user's attributes.
- phpList also gives you the option of enabling User Tracking. To facilitate user tracking, you can add [USERID] to your template, which will be replaced by an identifier for a subscriber. Note that this will only work when sending the email as HTML, and you will need to set up some URL that will receive the ID. Alternatively you can use the built-in user tracking of phpList. To do this, add [USERTRACK] to your template and an invisible link will be added to the template to keep track of views of the message.
- Images in a template will be included (embedded) in the messages. Any reference to an image that does not start with “http:” can (and should) be uploaded for inclusion in the email. It is advised to use few images and make them very small. If you upload your template, you will be able to add your images. References to images to be included should be from the same directory, ie <img src=“image.jpg” … > and not <img src=“/some/directory/location/image.jpg” … > Note: If you add images to the content of your messages, they need to include a complete URL, and will not be included/embedded in the email.
- How to include images in templates using the Upload Procedure.
- The Upload Procedure involves uploading your template file and its images from your local computer to the phpList database.
- First, create a directory on your local computer where you will place both the template file and all the images you want included in the template.
- Edit your template with your favourite html editor on your local computer and check that the image tags have No URLs. If you have URLs in your image tags, remove them, leaving only the name of the image file, e.g. <img src=“image.jpg” …etc. >.
- Make sure you insert the placeholder [CONTENT] in your template.
- Save this template file as mytemplate.html in the above-mentioned directory on the hard disk of your local computer.
- Load the phpList admin module, and create a new template.
- Title the Template
- Click on Browse, select the mytemplate.html file on your local computer (the editing window will remain empty at this point), select Check that all links have a full URL, and leave the other selection boxes blank.
- Click Save Changes.
- You will be presented with a screen saying “template saved”, giving you the possibility to then upload images.
- Click on the Browse button and select the images you want to upload from your computer. Click Save Images.
- The images you uploaded to your system are stored in the phpList database and will be included as embedded images in your template when sending your messages.
- Template Suggestions - With templates and the way they are rendered in email and webmail clients, you enter a world of mostly unwritten and changing rules you will need to discover by trial and error. As a general rule, keep your template simple. Also, test it thoroughly on as many different webmail, email clients, browsers and platforms as you can.
- First try a very simple template (just a coloured title for the header and some coloured text for the footer. If that works, continue building from there.
- Keep in mind that email clients are not web browsers. Most email clients will be able to display simple HTML and CSS styles, nothing fancy. So, when designing your message template, keep it simple, and do not use the most advanced CSS and HTML standards.
- Also keep in mind that some webmail providers may change/strip some elements of HTML messages. For instance, style declarations might be removed. It is therefore advisable to use embedded/inline styles.
- Run some tests to see how your messages are rendered in popular email clients (Thunderbird, Outlook 2007, Outlook Express, Eudora, etc.), and webmail providers (Hotmail, Yahoo, Gmail, etc.), using different browsers.
- Select List of Templates on the “Add or Edit Template” page to view the current templates available.


